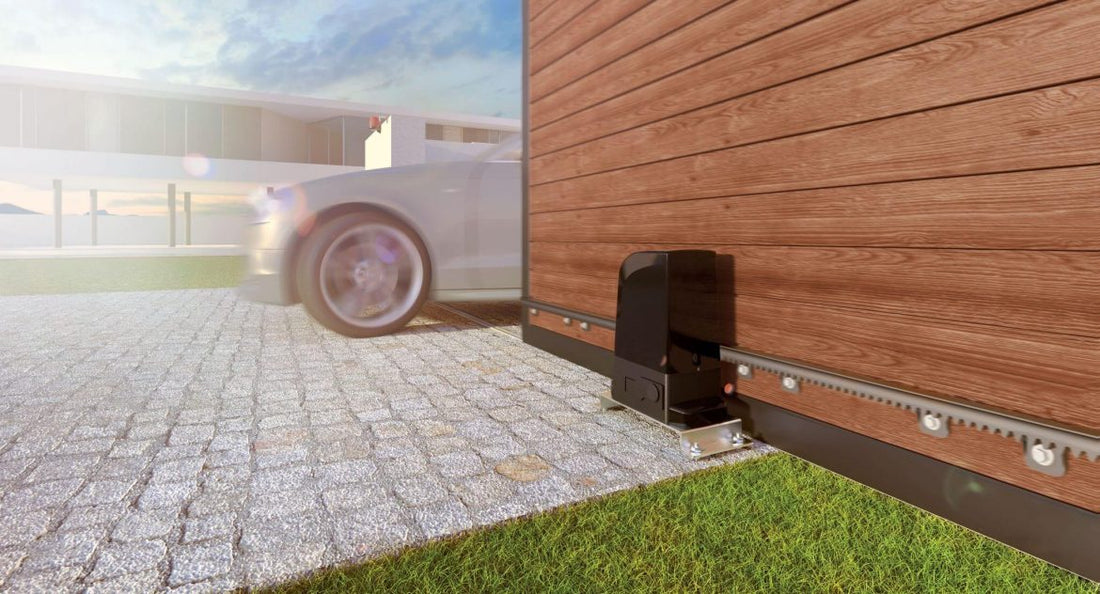
How to install the motor for your sliding door? We explain it to you step by step!
Share
Installing a motor for a sliding door is an excellent way to increase the comfort and security of your home or business. Although it may seem like a complex task, with the right tools and a detailed guide, you can complete the installation yourself. In this article, we will explain step by step how to install a motor on your sliding door, ensuring the process is as simple and efficient as possible.
Preparation
Before starting the installation, it's crucial to prepare and gather all the necessary materials and tools. This includes the sliding door motor you’ve chosen, basic tools like a drill, screwdrivers, wrenches, and materials such as screws and anchors suitable for your type of installation.
Choose the Right Motor
Selecting the right motor is essential. You need to consider the weight and size of your sliding door to ensure the motor can move it efficiently. Most manufacturers provide clear specifications on the motor's capacity, making this choice easier.
Motor Installation
Motor Placement
The first step is deciding where to place the motor. Generally, it is installed on the inside of the door to protect it from the elements. It should be near a power source and in a location that allows a direct connection to the door.
Securing the Motor
Once the location is chosen, proceed to secure the motor to the floor. Use a drill to make the necessary holes and anchor the motor firmly. It is crucial to ensure the motor is level to avoid any movement issues with the door.
Rack Installation
The rack is the piece that connects the motor to the door, enabling its movement. It must be perfectly aligned with the motor for smooth operation.
Measuring and Cutting
Measure the necessary length of the rack according to the width of your door and cut it to size. Most racks can be cut using basic metal cutting tools.
Securing to the Door
Secure the rack to the bottom or top of the door, depending on your system’s design. Ensure it is firmly attached and aligned with the motor’s pinion.
Electrical Connections
Connecting to the Motor
Once the motor and rack are installed, the next step is to make the electrical connections. This may vary depending on the model, but generally includes connecting the motor to the power source and the control panel.
Programming the Motor
Most sliding door motors come with a control panel that allows you to program the door’s operation. This includes settings like motor strength, opening and closing speed, and start and end travel points.
Testing and Final Adjustments
Once the installation is complete, it is crucial to perform several tests to ensure the door moves correctly and all connections are secure. You may need to make adjustments to the motor programming or rack alignment to optimize the door’s performance.
Frequently Asked Questions (FAQs)
Can I install a motor on any type of sliding door?
In most cases, yes. However, it's important to check the motor’s specifications and ensure it is compatible with the weight and size of your door.
Do I need a special power source for my motor?
Most motors work with a standard 220-240V power source. However, always check the manufacturer’s specifications before installation.
What maintenance does a sliding door motor require?
Maintenance is generally low, but it is recommended to periodically check the rack alignment, motor lubrication, and system programming to ensure it is working correctly.
Conclusion
Installing a motor for a sliding door may seem like a challenging task, but by following these steps and with proper preparation, you can achieve it successfully. Not only will you increase the security and comfort of your home or business, but you will also enjoy the satisfaction of having done it yourself. Always remember to follow the manufacturer’s instructions and take the necessary safety precautions during installation.
